
The Power of DIY
Are you tired of calling a plumber for every small bathroom renovation project? Installing a new sink in your bathroom can be daunting, but with the right tools and some patience, it is a do-it-yourself project that can save you time and money. Rather than spending hours trying to find a reliable contractor or paying for expensive installation fees, taking on this renovating task will allow you to gain valuable knowledge about home improvement while giving your bathroom the update it needs.
Overview of Steps Involved
This step-by-step guide to installing a bathroom sink will help make the process as easy as possible. Before starting, it is essential to gather all necessary materials and tools needed for the job, which include safety gear such as goggles and gloves. The first step is removing the old sink by disconnecting plumbing and physically detaching it from its mounting hardware.
Once removed, there are various preparations that must be made before installing the new sink. This includes measuring out where to place the new sink while also ensuring that there is enough room for plumbing underneath.
Once these steps have been completed, it’s time to install your new fixture by attaching mounting hardware and connecting plumbing before securing your new sink in place with caulking around its edges. Test everything for leaks so that everything is working correctly.
Tools and Materials Needed
The Right Tools for the Job
Before you get started on your DIY bathroom sink installation, it’s important to make sure you have all of the necessary tools. Here is a list of everything you will need:
– Adjustable wrench – Pipe wrench
– Basin wrench – Screwdriver set
– Plumber’s putty – Saw (if cutting out space for sink)
– Drill with various bits (if needed for mounting hardware) It’s important to note that some sinks may require additional tools, so always refer to the manufacturer’s instructions before beginning.
Making Sure You Have What You Need
In addition to the tools listed above, you’ll also need some materials to complete your bathroom sink installation. Here is a list of what you’ll need:
– New sink (make sure it fits the space and plumbing in your bathroom) – Mounting hardware (may come with sink or be sold separately)
– Plumbers tape – PVC piping or metal piping
– Silicone caulk It’s important to ensure that all materials are compatible with each other and with your plumbing system before beginning installation.
In addition, be sure to wear appropriate safety gear like gloves and eye protection when working with plumbing fixtures. With these tools and materials in hand, you’ll be ready to tackle your DIY bathroom sink installation like a pro!
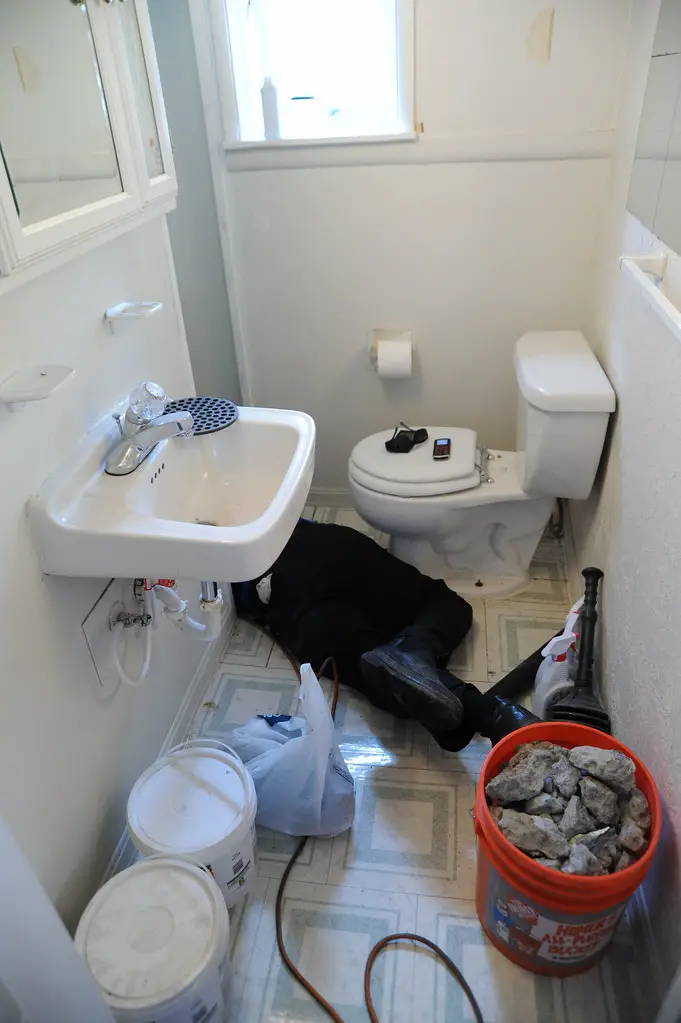
Removing the Old Sink
Disconnecting Plumbing
Before starting to remove the old sink, make sure to turn off the water supply and disconnect any plumbing connections. You can usually shut off the water supply valves located under the sink, or if there are no valves directly under the sink, you may need to turn off the main water supply for your home.
Once you have turned off the water supply, use a wrench or pliers to loosen and disconnect any pipes or hoses connected to your old sink. Be sure to have a bucket handy as some residual water may still be in them.
Removing Old Sink
With all plumbing disconnected, it’s time to remove the old sink. Depending on how it was installed, this may require cutting through any adhesive sealant which is typically applied around edges of sinks upon installation. If your old sink was mounted with clips underneath or screws holding it in place at each corner – unscrew these first and then gently lift up on one edge of the countertop until you can work it out from underneath.

Once you have removed all mounting hardware and cut through any sealant, carefully lift up on one side of your old sink so that you can get a good grip on it with both hands. Gently wiggle back and forth until it’s loose enough that you can slide it out from its resting spot without causing damage to anything around it.
Take care not to drop or damage anything during this process! With your old sink safely removed, now is a good time to tidy up any debris left behind before moving onto preparing for installation of your new bathroom sink.
Preparing the Area for Installation
Measuring and Marking Placement for New Sink
Before beginning the installation process, it’s essential to measure and mark the placement of your new sink. Not only does this ensure that your sink is level, but it also ensures a proper fit. To do this, first measure the width of your sink.
Then, use a pencil to mark where you want your sink to sit on the vanity or countertop. Be sure to consider any obstructions such as drawers or cabinet doors when marking your placement.
Once you have marked the placement of your new sink, double-check that it is level by using a level tool. If there are any discrepancies in the levelness of your markings, adjust them accordingly until they are straight and even across all points.
Cutting Out Space for Sink if Needed
In some cases, you may need to cut out a space in your countertop in order to fit your new sink properly. This will depend on whether you are replacing an existing sink with one that has different dimensions or if you are installing a brand new bathroom vanity from scratch.
If cutting out a space is necessary, use a jigsaw or reciprocating saw with an appropriate blade to make precise cuts along your marked lines. Be sure to wear safety goggles and be cautious not to damage any surrounding surfaces during this process.
After cutting out the space for your new sink, test-fit it before moving forward with installation. If adjustments need to be made, now is the time before moving on to attaching mounting hardware and connecting plumbing.
Installing the New Sink
Now that you’ve removed the old sink and prepared the area, it’s time to install the new sink. Before you begin, make sure you have all of your necessary tools and materials nearby. The first step is to attach the mounting hardware.
Attaching Mounting Hardware
The mounting hardware is what will keep your sink securely in place. There are a few different types of mounting hardware, so make sure you refer to your sink’s instructions for specific details. In general, though, most sinks will come with either clips or brackets that need to be attached to the underside of the sink.
To install clips, simply slide them onto the edge of the sink and tighten them into place using a screwdriver. Brackets will need to be screwed in from underneath using screws provided with your sink kit.
Connecting Plumbing
With your mounting hardware secured in place, it’s time to connect your plumbing. This step may seem daunting at first, but it’s actually pretty straightforward as long as you take it one step at a time. Start by attaching any necessary pipes or hoses to your faucet.
Then connect these pipes or hoses to any corresponding valves or water supply lines coming out of your wall or cabinet. If you’re not comfortable with plumbing work, don’t hesitate to consult an experienced professional before proceeding further.
Securing Sink in Place
Now that everything is connected properly, it’s time for one final check before securing everything in place permanently. Make sure all connections are tight and there are no leaks present by turning on both hot and cold water supplies and letting them run for a moment.
Once everything checks out okay, use a wrench (or pliers if needed) to tighten down any nuts or bolts on any relevant connections below the sink between drain pipe components or pipes running up into supply lines from the walls. Double check that your sink is level, and then secure it in place using screws or clips provided with your sink kit.
Congratulations! You’ve now successfully installed a new bathroom sink!
Finishing Touches
Caulking around edges of sink
Once the sink is in place and secured, the next step is to apply caulk around the edges. This will not only give your new sink a polished look, but it will also prevent water from seeping underneath and causing damage.
First, make sure that the area around the sink is clean and dry. Then, apply a thin bead of silicone caulk along the edge where the sink meets the countertop.
Use your finger or a caulk smoothing tool to smooth out any bumps or uneven areas. Be sure to work quickly before the caulk starts to dry.
Testing for leaks
Now that you’ve installed your new sink and applied caulk, it’s time to test for leaks. Turn on the water supply valves and let them run for a few minutes. Check both hot and cold water supply lines, as well as any drain pipes or P-traps connected to your sink.
Look for any signs of dripping or pooling water around your plumbing connections. If you do notice a leak, try tightening any loose connections first.
If this doesn’t solve the problem, turn off the water supply valves again and take apart any sections that may be leaking. Check for any damaged or worn components that need replacement before reassembling everything back together again.
After verifying there are no leaks coming from anywhere under your new bathroom sink, you’ve successfully completed this DIY project! Congratulations!
The feeling of accomplishment after completing such projects can be invigorating – don’t stop here! Try tackling more home improvement projects on your own; each one will add value to your home while saving you money in professional fees in return!
Conclusion
Recap: DIY Bathroom Sink Installation in a Nutshell
Installing a bathroom sink is one of those projects that can seem intimidating at first, but with the right tools and guidance, it can be a successful DIY project. Here’s a recap of the steps involved:
First, gather all necessary tools and materials, including safety gear. Disconnect plumbing and remove the old sink.
Measure and mark placement for the new sink, cut out space for it if necessary, then attach mounting hardware and connect plumbing. Secure the sink in place by tightening mounting clips or bolts.
Be sure to finish up with caulking around the edges of the sink to prevent leaks. Test everything out to ensure there are no issues.
Encouragement to Tackle More Home Improvement Projects
Congratulations! You’ve successfully installed your own bathroom sink! As you stand back and marvel at your handiwork, take some time to reflect on what you’ve accomplished.
Not only have you saved money by doing it yourself instead of hiring a professional plumber, but you’ve also gained valuable experience that will serve you well in future home improvement projects. Now that you’re feeling confident with your newfound skills, consider taking on more DIY projects around your home.
Who knows? Maybe next time you’ll tackle something even bigger – like installing new light fixtures or laying down hardwood floors!
Remember: every successful project starts with just one step – so start exploring ideas today. And don’t forget – if at any point during a project things go awry or become too difficult – don’t hesitate to call in a professional for help!
