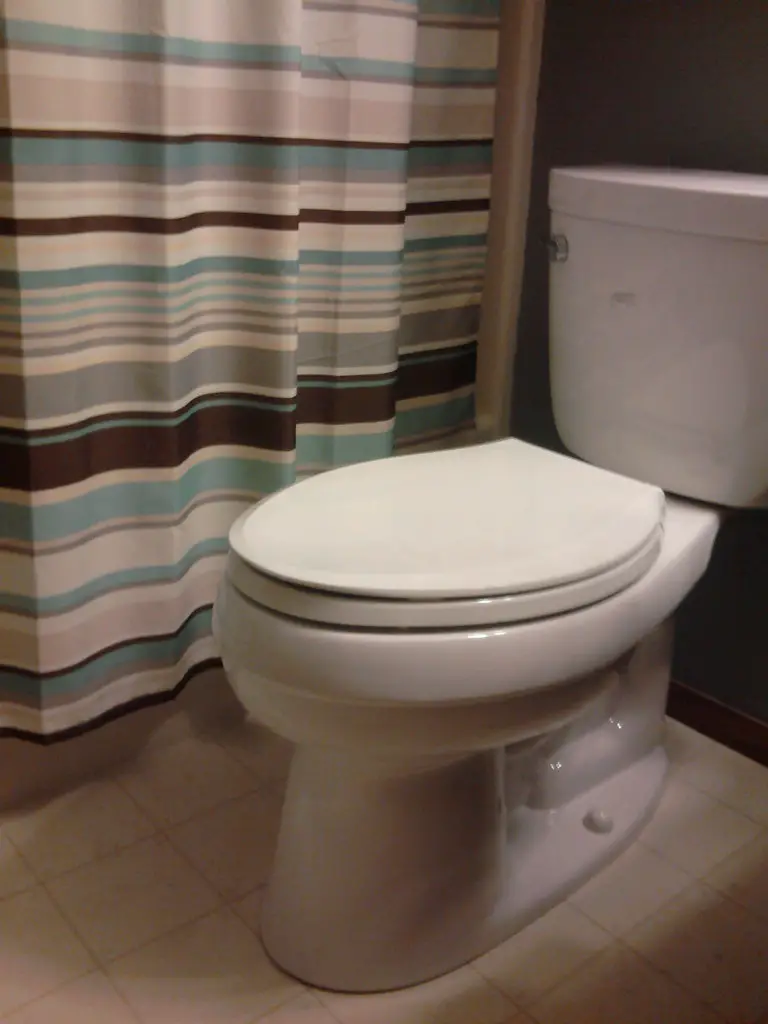
The Importance of Proper Toilet Installation
Installing a toilet may seem like a simple task, but it is crucial to get it right. A properly installed toilet ensures that water flows correctly and does not leak, avoiding any potential damage to your bathroom floor or plumbing system. Improper installation can result in an unstable toilet that wobbles, leaks, or even cracks over time.
Toilet installation requires some basic plumbing skills and the right tools and materials. While hiring a professional plumber might seem like the best option, it can be expensive.
A simple toilet installation can cost hundreds of dollars in labor fees alone. That’s why many people opt for DIY toilet installation as a more cost-effective solution.
Why DIY Toilet Installation Can Be a Cost-Effective Option
As mentioned earlier, hiring a professional plumber for a simple task such as installing a toilet can be expensive. You may save money by doing it yourself if you have some basic tools and are willing to follow instructions carefully. One other advantage of DIY toilet installation is that you get to do things your way without the pressure of someone watching over your shoulder.
It could also be an opportunity for you to learn something new and gain new skills while working on your home improvement project. However, before embarking on any DIY project, it’s essential to know what you’re getting into and make sure that you’re up for the challenge ahead.
Remember always to prioritize safety and know when it’s time for professional help if things become too challenging or complicated for you. Now that we’ve covered why proper installation matters let us move on to the next section where we will list out all the necessary tools and materials needed for this project.
Tools and Materials Needed
The Right Tools for the Job
Before embarking on a toilet installation, it’s important to have the right tools on hand. While some may be tempted to use whatever tools they have lying around, using the proper tools will make the job easier and more efficient. Some of the essential tools needed for a toilet installation include a wrench, pliers, and a screwdriver.
A wrench is used to tighten and loosen nuts and bolts, while pliers can be used for holding items in place or tightening smaller components. A screwdriver will also come in handy for removing screws or securing parts.
Essential Materials
In addition to having the right tools on hand, it’s also important to have all of the necessary materials ready before beginning installation. One key material needed is a wax ring that helps seal the toilet bowl to the flange beneath it.
The wax ring should match the size of your toilet’s outlet hole; most toilets require either a 3″ or 4″ ring. Bolts are another important material that you’ll need.
These are used to secure your toilet bowl onto the flange underneath it. You can purchase these as part of a kit that includes both bolts and washers; make sure they’re rust-resistant so they don’t corrode over time.
You’ll need a supply line that connects your toilet’s tank to your home’s water supply system; this is usually purchased separately from other plumbing supplies but should be easily obtainable at any home improvement store or plumbing supply retailer. By having all of these materials readily available before starting your DIY project, you’ll ensure that you won’t hit any roadblocks during installation because you’re missing something crucial!
Preparation Steps
Shutting off the Water Supply and Draining the Old Toilet
Before diving into the installation process, you need to shut off the water supply to your toilet. To do this, look for a valve behind or near your toilet. Turn it clockwise until it’s tightly closed.
Then, flush your toilet to drain as much water as possible from the tank and bowl. Use a plunger or sponge to remove any remaining water in the bowl or tank.
Removing the Old Toilet and Cleaning the Area
The next step is removing your old toilet. This may seem daunting, but with careful preparation and attention to detail, it can be done relatively easily. Begin by removing any caps or covers that are covering up bolts on either side of the base of your toilet.
Next, use a wrench or pliers to loosen and remove these nuts from their bolts. Make sure not to damage these bolts since you will use them again when attaching your new toilet.
Once you have removed all nuts, gently rock back and forth on your old toilet until it breaks free from its wax seal with the floor (it’s normal if there’s some resistance). Then lift up on both sides of your old bowl simultaneously until it clears its bolts.
After removing your old toilet, clean up any remaining wax residue from both surfaces using a putty knife or scraper. wipe down all surfaces around where your new toilet will be installed so they’re clean and dry – now you’re ready for installing!
Installation Steps
Placing the New Wax Ring and Bolts in Position
Once you have cleaned up the area where the old toilet used to be, it’s time to move on to installing your new toilet. The first step in this process is placing the new wax ring and bolts in position.
The wax ring is responsible for creating a seal between the toilet base and the flange on your bathroom floor. Without a proper seal, water can leak out from under your toilet and cause damage to your floors or subfloor.
Take the new wax ring that came with your toilet and place it onto the flange. Make sure it is centered so that it will create an even seal.
Next, insert bolts into their slots on either side of the flange. These bolts will hold your toilet firmly in place once you secure it onto them later on in this process.
Lowering and Securing the New Toilet onto the Bolts
Now that you’ve positioned your wax ring and bolts correctly, it’s time to lower and secure your new toilet onto them. The easiest way to do this is by lining up the holes at the base of your new toilet with those same bolts sticking out of your flange. Gently lower your new toilet into position, guiding its base over those protruding bolts as you do so.
Once you feel like everything lines up nicely, press down firmly but slowly until those bolts push through their respective holes at either side of your toilet base. Tighten down nuts that came with those protruding bolts by hand until they are snug but not too tight – then use a wrench to give them one more turn each for good measure.
Reconnecting Water Supply and Testing for Leaks
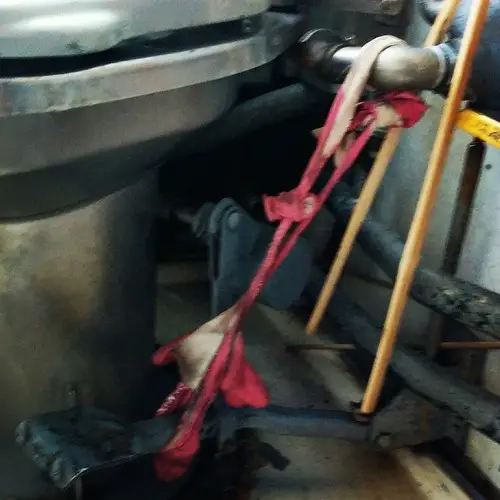
The last step of installing your new toilet involves reconnecting its water supply line properly – which can be a little tricky if you haven’t done this before. First, make sure the water supply valve is turned off. Then, connect the water supply line to the bottom of your toilet tank using a wrench.
Once everything is securely connected, turn on the water supply valve once again and let your toilet fill up with water. Check for any leaks around the base of your toilet or other connections – if you see any drips or puddles forming, make sure to tighten everything down until those leaks stop.
Once you’re confident that everything is tight and dry, give your new toilet a few test flushes to ensure that it’s working correctly. Congratulations – you’ve successfully installed a new toilet!
Troubleshooting Tips
Common issues during installation (e.g. uneven floor, loose bolts)
Even with careful preparation and execution, sometimes issues arise during DIY toilet installation. Two of the most common problems are an uneven floor and loose bolts. When the floor is not level, the toilet can wobble or rock after installation, causing leaks or damage to the wax ring seal.
Loose bolts can also lead to movement and instability in the toilet bowl. Fortunately, these problems are easily fixable with some simple adjustments.
To fix an uneven floor, you can purchase shims from a hardware store to level out any gaps between the toilet base and floor surface. Simply place them under the areas that need lift until it feels stable.
To fix loose bolts, make sure to tighten them fully using a wrench or pliers. However, be careful not to overtighten as this can cause cracks in your porcelain fixture.
How to fix these issues
Uneven floors and loose bolts aren’t the only potential issues that may arise when installing a new toilet on your own. If you find yourself struggling with other problems such as leaky seals or improper water flow after finishing your installation it’s important not to get discouraged. Firstly, if there is leakage at any point of your new toilet’s setup process it’s likely you didn’t install something correctly or missed a step so ensure all components are fitted properly and tight enough before attempting again!
If you’re still experiencing leaks after re-installing everything don’t panic — instead check these common culprits: broken seals around pipes leading into the wall; cracked porcelain on either side of where water enters into tank; damaged flapper valve located inside tank which controls release & refill cycle of water going through system. By following these tips for troubleshooting bathroom installations on your own you’ll have confidence knowing nothing will stand in your way when it comes to completing this important task.
Conclusion
Recap of Key Points
Before embarking on a DIY toilet installation project, it’s important to understand the tools and materials needed. Make sure you have everything necessary before beginning the project to avoid running into problems halfway through.
Remember to shut off the water supply and drain the old toilet before removing it. Once you have removed the old toilet, clean the area thoroughly.
When installing your new toilet, make sure that you have a level surface to work with. An uneven floor can cause issues with leaking or instability.
Always use a new wax ring and bolts when installing your new toilet, and be sure to secure it tightly in place. Reconnect the water supply and check for leaks.
Encouragement
Don’t be intimidated by DIY toilet installation – it’s easier than you might think! With proper preparation and attention to detail, anyone can do it themselves without needing to call in a professional plumber.
Not only will you save money by doing it yourself, but you’ll also gain valuable knowledge about how your plumbing system works. Remember that mistakes may happen along the way, but they are opportunities for learning and growth.
If something goes wrong during your project, take a step back and assess what happened so that you can learn from any mistakes made. With each DIY project completed successfully, you’ll feel more confident about tackling bigger projects in the future.
Installing a toilet yourself is not only cost-effective but also empowering. By following these steps carefully and taking time with each stage of installation, anyone can complete this project confidently while gaining skills along the way!
