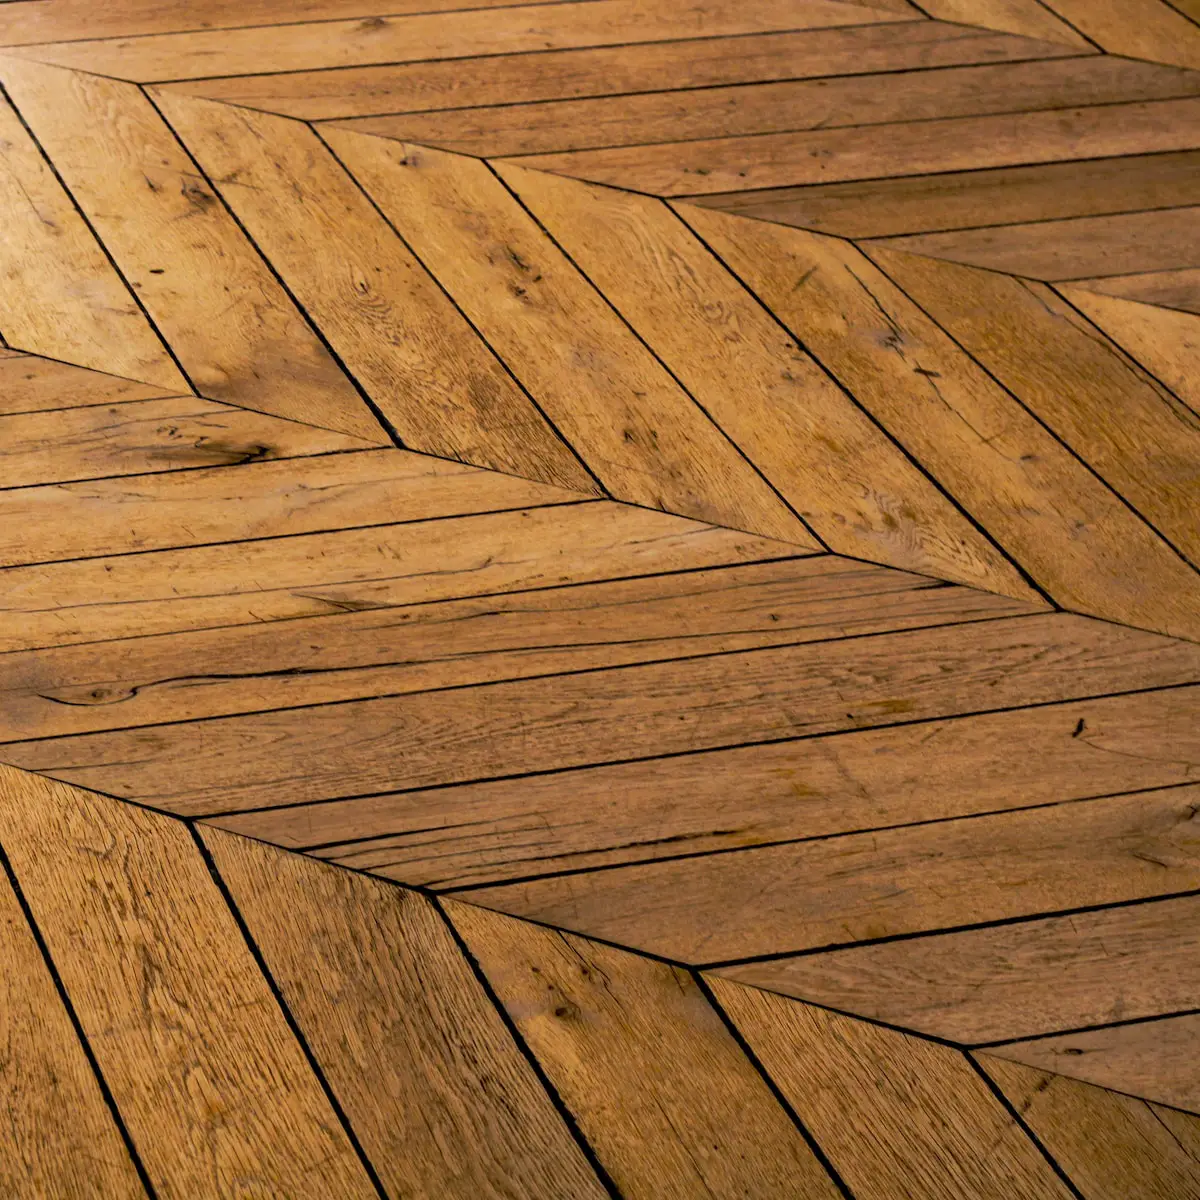
Introduction: The Importance of Hardwood Floor Resurfacing
Hardwood floors are a beautiful and elegant addition to any home, but they can also be one of the most expensive investments. Unfortunately, even with proper care and maintenance, hardwood floors will eventually show signs of wear and tear.
Scratches, dents, and gaps in the wood can make your floors look old and tired. But don’t worry!
There’s a solution that won’t cost you a fortune: hardwood floor resurfacing. Resurfacing your hardwood floors is an investment that will not only improve the overall appearance of your home but also increase its value.
It’s a great way to give your home an updated look without the need for expensive renovations. So why settle for dull or dingy floors when you can restore their natural beauty with hardwood floor resurfacing?
The Sandless Way of Wood Flooring Restoration: The Future is Now
Traditionally, restoring hardwood floors required sanding down the surface layer before applying a new finish – a process that can produce harmful dust particles and fumes which require tedious cleanup efforts. But now there’s a new way to restore your wood flooring without any need for sanding – it’s called sandless wood floor restoration.
The sandless method involves using specialty machines that gently abrade worn finishes instead of removing layers by sanding them off completely. This means no dust or mess in your home while still achieving great results!
Plus, it’s faster than traditional methods as it doesn’t require as much preparation time or lengthy drying times between coats of finish. With so many benefits over traditional refinishing methods including no mess or downtime during renovation work as well as reduced cost & eco-friendliness due to fewer chemicals being used, the sandless way of wood flooring restoration is now the preferred method for many homeowners!
Understanding the Sandless Way of Wood Flooring Restoration
Have you ever heard of the sandless way of wood flooring restoration? This innovative method has been gaining popularity among homeowners who want to restore their hardwood floors without having to go through the hassle and mess of traditional refinishing methods.
So, what exactly is sandless wood floor restoration? Essentially, it’s a process that involves using special machines and techniques to remove old finish and apply a new one without actually sanding down the wood.
Advantages and Disadvantages of Using a Sandless Method
One major advantage of using a sandless method for wood floor restoration is that it’s virtually dust-free. Traditional sanding methods can create a huge amount of dust that can be hazardous to your health, especially if you have allergies or respiratory issues.
With sandless resurfacing, you don’t have to worry about breathing in all those harmful particles. Additionally, this method can be faster than traditional refinishing since it eliminates the need for extensive preparation and cleanup.
However, there are also some disadvantages to using a sandless method. For one thing, it may not work as well on floors with deep scratches or gouges since those areas may need more extensive repair work.
Additionally, some people feel that the finish achieved with a sandless method isn’t as durable as what you would get with traditional refinishing methods. It’s important to carefully consider these factors before deciding which route to take for your hardwood floor restoration project.
Comparison with Traditional Hardwood Floor Refinishing Methods
So how does the sandless way of wood flooring restoration compare with traditional refinishing methods? The main difference lies in how the old finish is removed from the wood. With traditional refinishing, this is typically done through extensive sanding that can create lots of dust and mess.
Sandless resurfacing avoids all that by using special machines and techniques to strip away the old finish without actually sanding down the wood. Overall, both methods have their pros and cons, and which one you choose will depend on your specific needs and preferences.
However, if you’re looking for a way to restore your hardwood floors in a fast, efficient, and dust-free manner, then sandless resurfacing may be the right choice for you. Just be sure to do your research and work with a reputable professional to ensure that the job is done correctly.
Preparing for Sandless Wood Floor Restoration
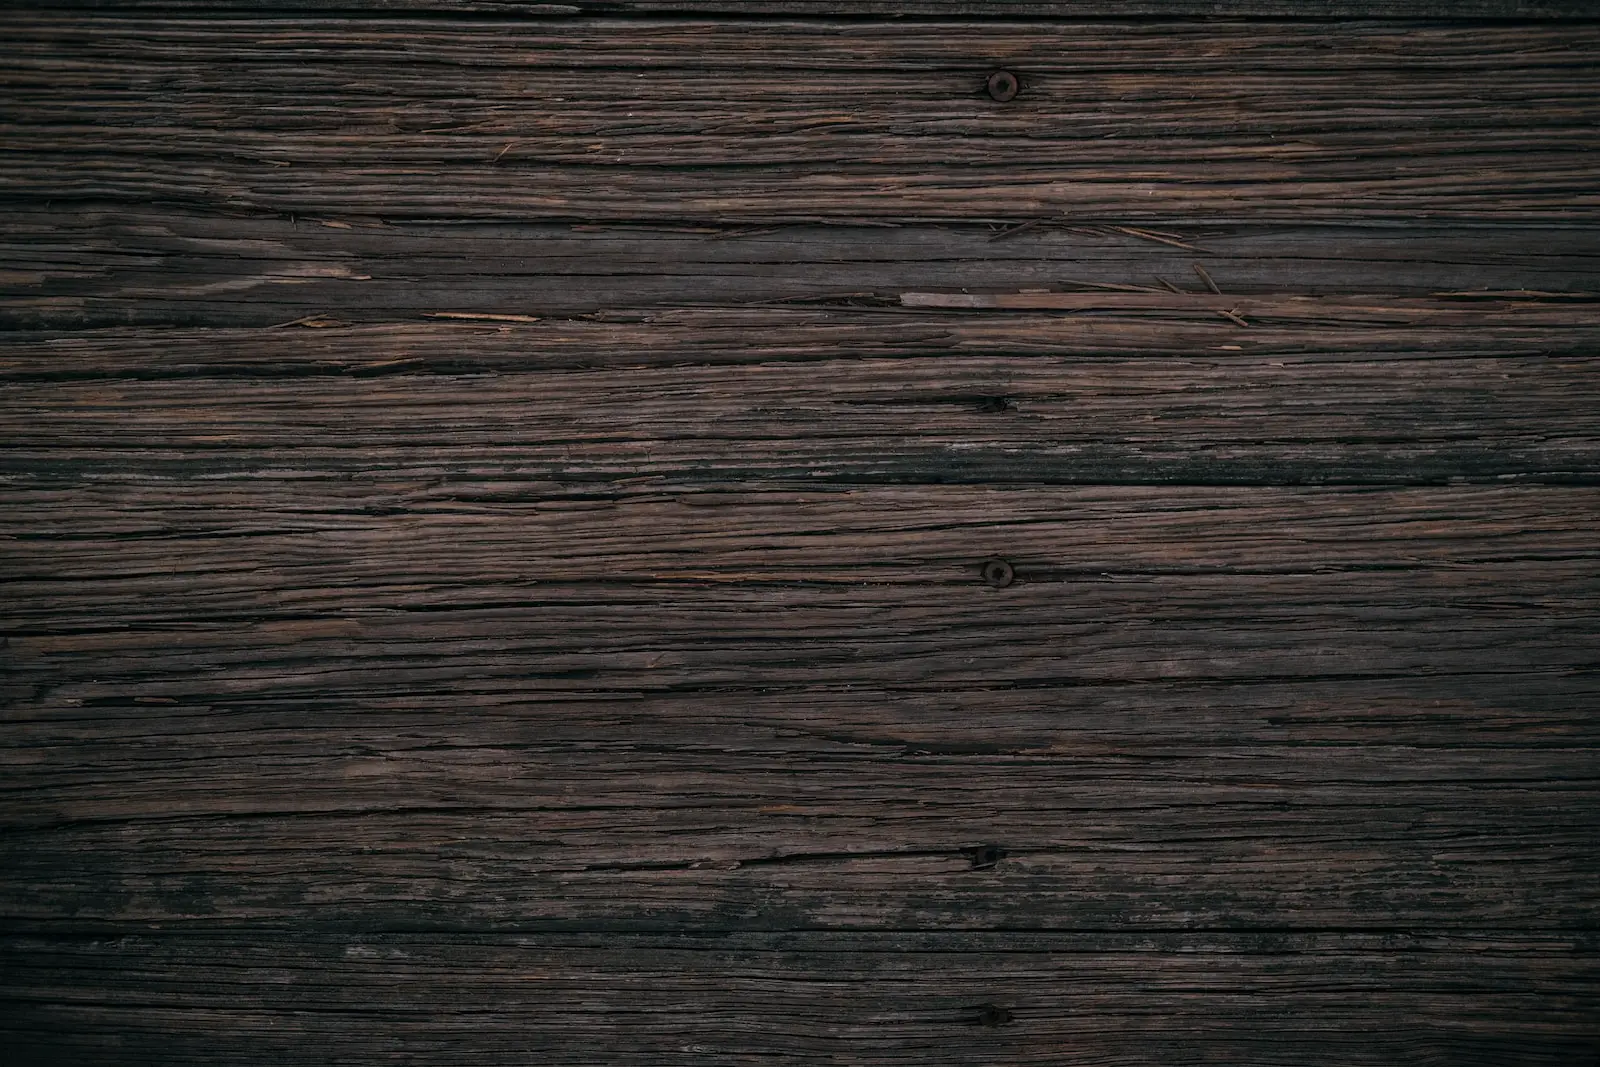
Inspection and Evaluation of the Hardwood Floors to Be Restored
Before embarking on a sandless wood floor restoration project, it’s essential to evaluate the condition of your hardwood floors. Take some time to inspect the floors and identify any areas with scratches, dents, or water damage.
This step will help you determine whether or not your floors are suitable for sandless resurfacing. For instance, if your floor has deep gouges or significant damage in several areas, sandless resurfacing may not be enough to restore it fully.
Instead, you may need to opt for full refinishing using traditional methods like sanding. On the other hand, if only minor surface damage is present, a sandless restoration process should suffice.
Cleaning and Preparation Procedures Before Resurfacing
Once you’ve evaluated your hardwood floors and decided that they’re suitable for sandless resurfacing, it’s time to prepare them properly. Proper cleaning and preparation are crucial aspects of any wood floor restoration process. Firstly ensure that the floors are free from any dust or debris by sweeping them thoroughly using a soft-bristled broom.
Next up is washing the hardwood floors with a cleaning solution made specifically for wood surfaces while being very careful not to use too much water which can cause swelling of the wood fibers which can lead to cupping edges or buckling. It’s important also very important that all furniture is removed from the room before beginning with the cleaning process to avoid any damage by items being accidentally knocked over during during cleaning.
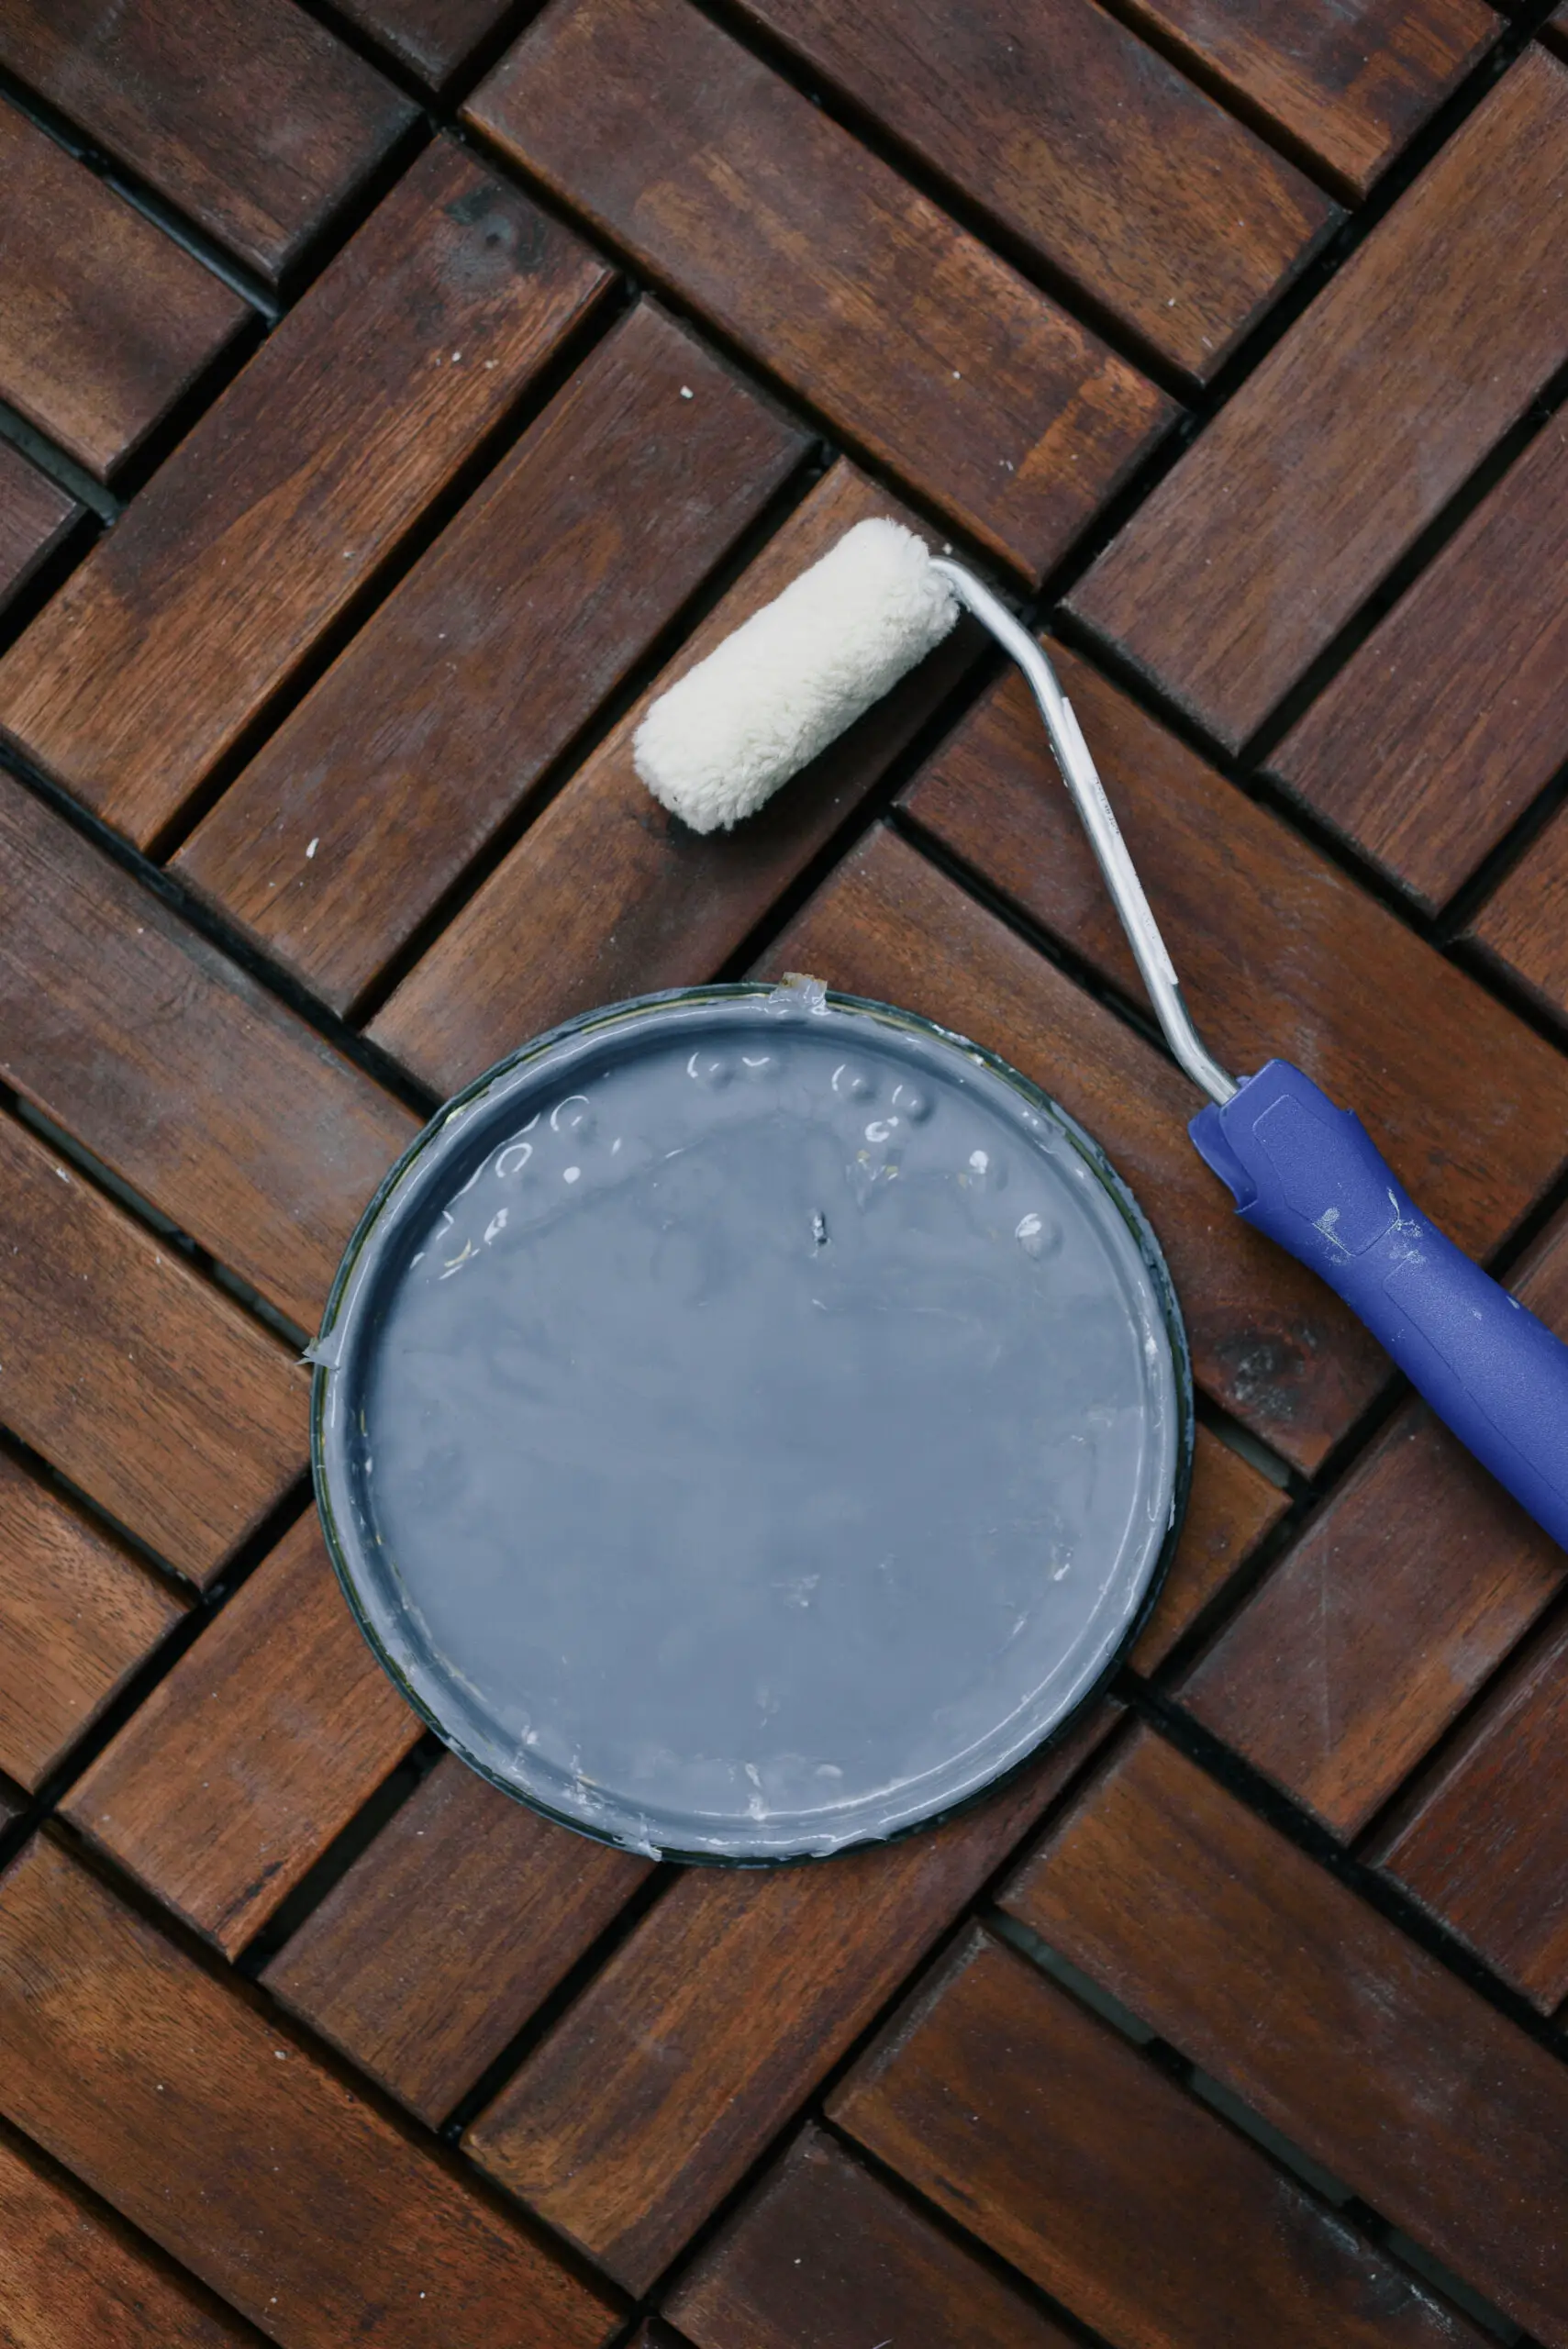
Choosing The Right Finish For Your Hardwood Floors
Choosing the right finish for your newly restored hardwood floor is also something you need to take into consideration. There are several options available in today’s market such as oil-based polyurethane which provides a shiny and durable surface, water-based polyurethane which is quick-drying but may require more coats to achieve the desired level of durability, acid-cured finishes which are tough but emit strong fumes during the application process. It is important to consider the level of traffic in your home and how this will impact on your floor finish.
For instance, if you have children or pets running around all day, choose a more resilient finish that can withstand constant wear and tear. On the other hand, if you have a quieter household with less traffic, you may opt for a thinner coating that lets the natural beauty of your hardwood floors shine through.
The Sandless Resurfacing Process
Explanation on how to use a sanding machine without actually sanding the floors
I know what you may be thinking, “How can you resurface a hardwood floor without sanding it?” The answer is simple: by using the right equipment and technique. With the latest advances in technology, there are now machines designed specifically for this purpose. These machines are equipped with special pads that are gentle enough to buff away scratches and imperfections without damaging the wood.
The best part about this method is that it’s completely dust-free! Traditional sanding methods would leave your home looking like a disaster zone, with sawdust everywhere.
But with the sandless method, you can have your floors refinished without any mess or fuss. It’s amazing how far technology has come in recent years, and I believe we should all take advantage of these advancements.
Step-by-step guide on how to apply a new finish without dust or mess
Once you’ve buffed out any scratches and imperfections from your hardwood floors using the sandless machine, it’s time to apply a new finish. This process is much simpler than traditional refinishing methods because there’s no need for chemicals or stripping agents. Instead, you’ll simply apply a new coat of finish over your existing floor.
First things first – make sure to clean your floors thoroughly before starting this process. You don’t want any dirt or debris getting stuck in your new finish!
Once your floors are clean and dry, use a high-quality applicator pad or brush to apply the new finish onto your hardwood floors in thin layers. Be sure to follow instructions on product labels carefully as application techniques may vary between products.
Tips on how to achieve a professional-looking result
While resurfacing hardwood floors may seem like an easy DIY project, it’s important to remember that mistakes can be costly. That’s why I always recommend seeking the help of a professional if you’re unsure about any step in the process.
However, if you’re determined to do it yourself, here are some tips to help you achieve a professional-looking result: – Choose the right finish for your floors.
Not all finishes are created equal, and some may work better for your hardwood floors than others. Take time to research which finish will work best for your specific type of wood.
– Apply thin layers of the new finish. Applying too much finish at once can lead to uneven coating and bubbling.
Instead, apply in thin layers and allow each layer to dry completely before applying the next one. – Use high-quality applicator pads or brushes.
A cheap brush or pad could leave behind bristles or fibers that will stick into your new finish and ruin the overall look. – Follow safety guidelines when using equipment like the sandless machine.
While these machines are generally safe to use, it’s important to follow safety guidelines provided by manufacturers. By following these tips and techniques for resurfacing hardwood floors using the sandless method, you’ll be able to achieve a professional-looking result without breaking the bank or creating a mess in your home!
Aftercare and Maintenance
Protect Your Investment with Proper Maintenance Techniques
Your hardwood floors are a beautiful asset to your home, but they require regular maintenance to keep them looking their best. After having them resurfaced, it’s important to take care of them properly to extend the life of your floors.
Here are some tips on how to maintain your newly restored hardwood floors: First, avoid using harsh chemicals when cleaning your newly restored floors.
Many floor cleaners contain ingredients that can damage the finish and cause discoloration over time. Instead, opt for a gentle cleaner that is specifically designed for hardwood floors.
Secondly, invest in a high-quality doormat for each entrance into your home. This will prevent dirt and debris from being tracked onto your newly restored floors, which can cause scratches and other damage over time.
Make sure to keep an eye out for any signs of wear or damage on your hardwood floors after restoration. If you notice any chips or scratches in the finish or if the wood looks dull or faded, it may be time to bring in a professional for repairs.
Best Practices for Cleaning and Protecting Your Floors from Future Damage
In addition to proper maintenance techniques, there are several best practices you should follow when cleaning and protecting your hardwood floors from future damage: 1. Avoid using water when cleaning your hardwood floors as this can cause warping and damage to the wood. 2. Always use furniture pads under heavy furniture legs to prevent scratches.
3. Keep pets’ nails trimmed as they can easily scratch the wood. 4. Avoid wearing high heels on hardwood floors as they can dent the wood.
5. Place area rugs in high traffic areas like entryways and hallways to protect against wear. By following these best practices, you’ll be able to extend the life of your newly restored hardwood floors and keep them looking their best for years to come.
Tips on When It’s Time to Call in a Professional
While maintaining your newly restored hardwood floors is important, there may come a time when you need to call in a professional for repairs or refinishing. Here are some signs that it’s time to bring in the pros:
1. Deep scratches or gouges in the wood that can’t be repaired with touch-up kits 2. Significant wear or fading of the finish

3. Warping, cupping or other damage to the wood caused by moisture or humidity 4. Large areas of discoloration that won’t come up with cleaning techniques
If you notice any of these issues with your hardwood floors, it’s important to call in a professional as soon as possible. Delaying repairs can lead to further damage and costly repairs down the road.
Maintaining and protecting your newly restored hardwood floors requires regular care and attention but is well worth it in the long run. By following these tips and best practices, you’ll be able to enjoy your beautiful floors for years to come while avoiding costly repairs and replacements down the road.
Conclusion
The sandless way of wood flooring restoration is a highly effective and convenient method of restoring your hardwood floors. By using this method, you can avoid the mess and disruption caused by traditional sanding methods while achieving professional-looking results. This method is perfect for busy homeowners who want to restore their floors without having to move out during the process.
Throughout this article, we have discussed the importance of hardwood floor resurfacing and explored in detail the benefits and drawbacks of using a sandless method. We have also provided step-by-step instructions on how to prepare for and execute a sandless resurfacing process, as well as tips on maintenance and aftercare.
Summary of key points covered in this article
Firstly, we explained what sandless wood floor restoration is and compared it with traditional hardwood floor refinishing methods. Then we moved on to preparing for sandless wood floor restoration, including inspection, evaluation, cleaning and finish selection.
We then discussed the actual sandless resurfacing process in detail with step-by-step instructions on how to apply a new finish without dust or mess. We provided tips on maintaining your newly restored hardwood floors along with recommendations on when it’s time to call in a professional.
Final thoughts on
When it comes to restoring your hardwood floors without any hassle or mess, going with a sandless method is the way to go. With proper preparation and careful execution of the process outlined in this article, you can achieve professional-looking results that will last for years to come. By using this method instead of traditional refinishing methods such as sanding or grinding down your hardwood floors you can preserve more of the original material while at the same time avoiding harmful dust particles that could wreak havoc on your health if breathed in over an extended period.
So why wait? Start planning your next home improvement project today and give your hardwood floors the care they deserve with the sandless way of wood flooring restoration.
